
Understanding the Basics of Chapati Dough
To create soft and layered chapatis, understanding the foundation of chapati dough is essential. The primary ingredient is whole wheat flour, which is preferred for its high fiber content and nutritional benefits. Whole wheat flour, known as “atta,” should be finely milled to achieve the ideal consistency necessary for making chapatis.
When preparing the dough, the ratio of flour to water plays a crucial role in the final texture of the chapatis. A common guideline is to use 1 cup of water per 3 cups of flour, though this can vary based on the flour’s quality and moisture content. Adding a pinch of salt not only enhances the flavor but can also improve the elasticity of the dough, contributing to softer chapatis. Some recipes might include a tablespoon of oil to help retain moisture, making the dough even more pliable.
The kneading process is equally important. Ideally, the dough should be kneaded for about 8-10 minutes until it is smooth and elastic. This process develops gluten, which is necessary for achieving the desired texture in chapatis. After kneading, it is recommended to let the dough rest for at least 30 minutes. This resting period allows the gluten to relax, resulting in a softer dough that rolls out more easily.
During this time, the dough can be covered with a damp cloth to prevent it from drying out. Properly rested dough will contribute to chapatis that are not only soft but also capable of puffing up while cooking. By following these basic principles in the preparation of chapati dough, one can significantly improve the final product.
The Art of Rolling Chapatis
Rolling chapatis is an essential skill in Indian cooking, requiring practice and technique to achieve the perfect thickness and shape. The first step in this process involves dividing the dough into equal portions, which allows for uniformity in size and ensures that each chapati cooks evenly. Typically, the dough should be divided into small balls, roughly the size of a golf ball, which helps in creating manageable pieces for rolling.
Once the dough balls are ready, dust your working surface and a rolling pin lightly with flour to prevent sticking. When rolling out a chapati, it is crucial to apply even pressure throughout the process. Start by pressing down gently on the dough ball with the rolling pin, turning it periodically to maintain a round shape. Use your fingers to guide the dough, ensuring that the edges remain thin while the center retains a slightly thicker consistency. This technique not only helps in creating evenly cooked chapatis but also contributes to their layered texture.
For those looking to make multiple-layered chapatis, it is advisable to roll the dough balls into larger, thinner discs and then apply a thin layer of oil or ghee before folding and rolling again. This step is key in achieving soft, flaky chapatis with well-defined layers. For variation, one may consider rolling out thinner chapatis for different applications or thicker versions for heartier meals. Maintaining control of the rolling pin and consistently checking the thickness will lead to chapatis that are not only delicious but also visually appealing.
Cooking Techniques for Soft and Layered Chapatis
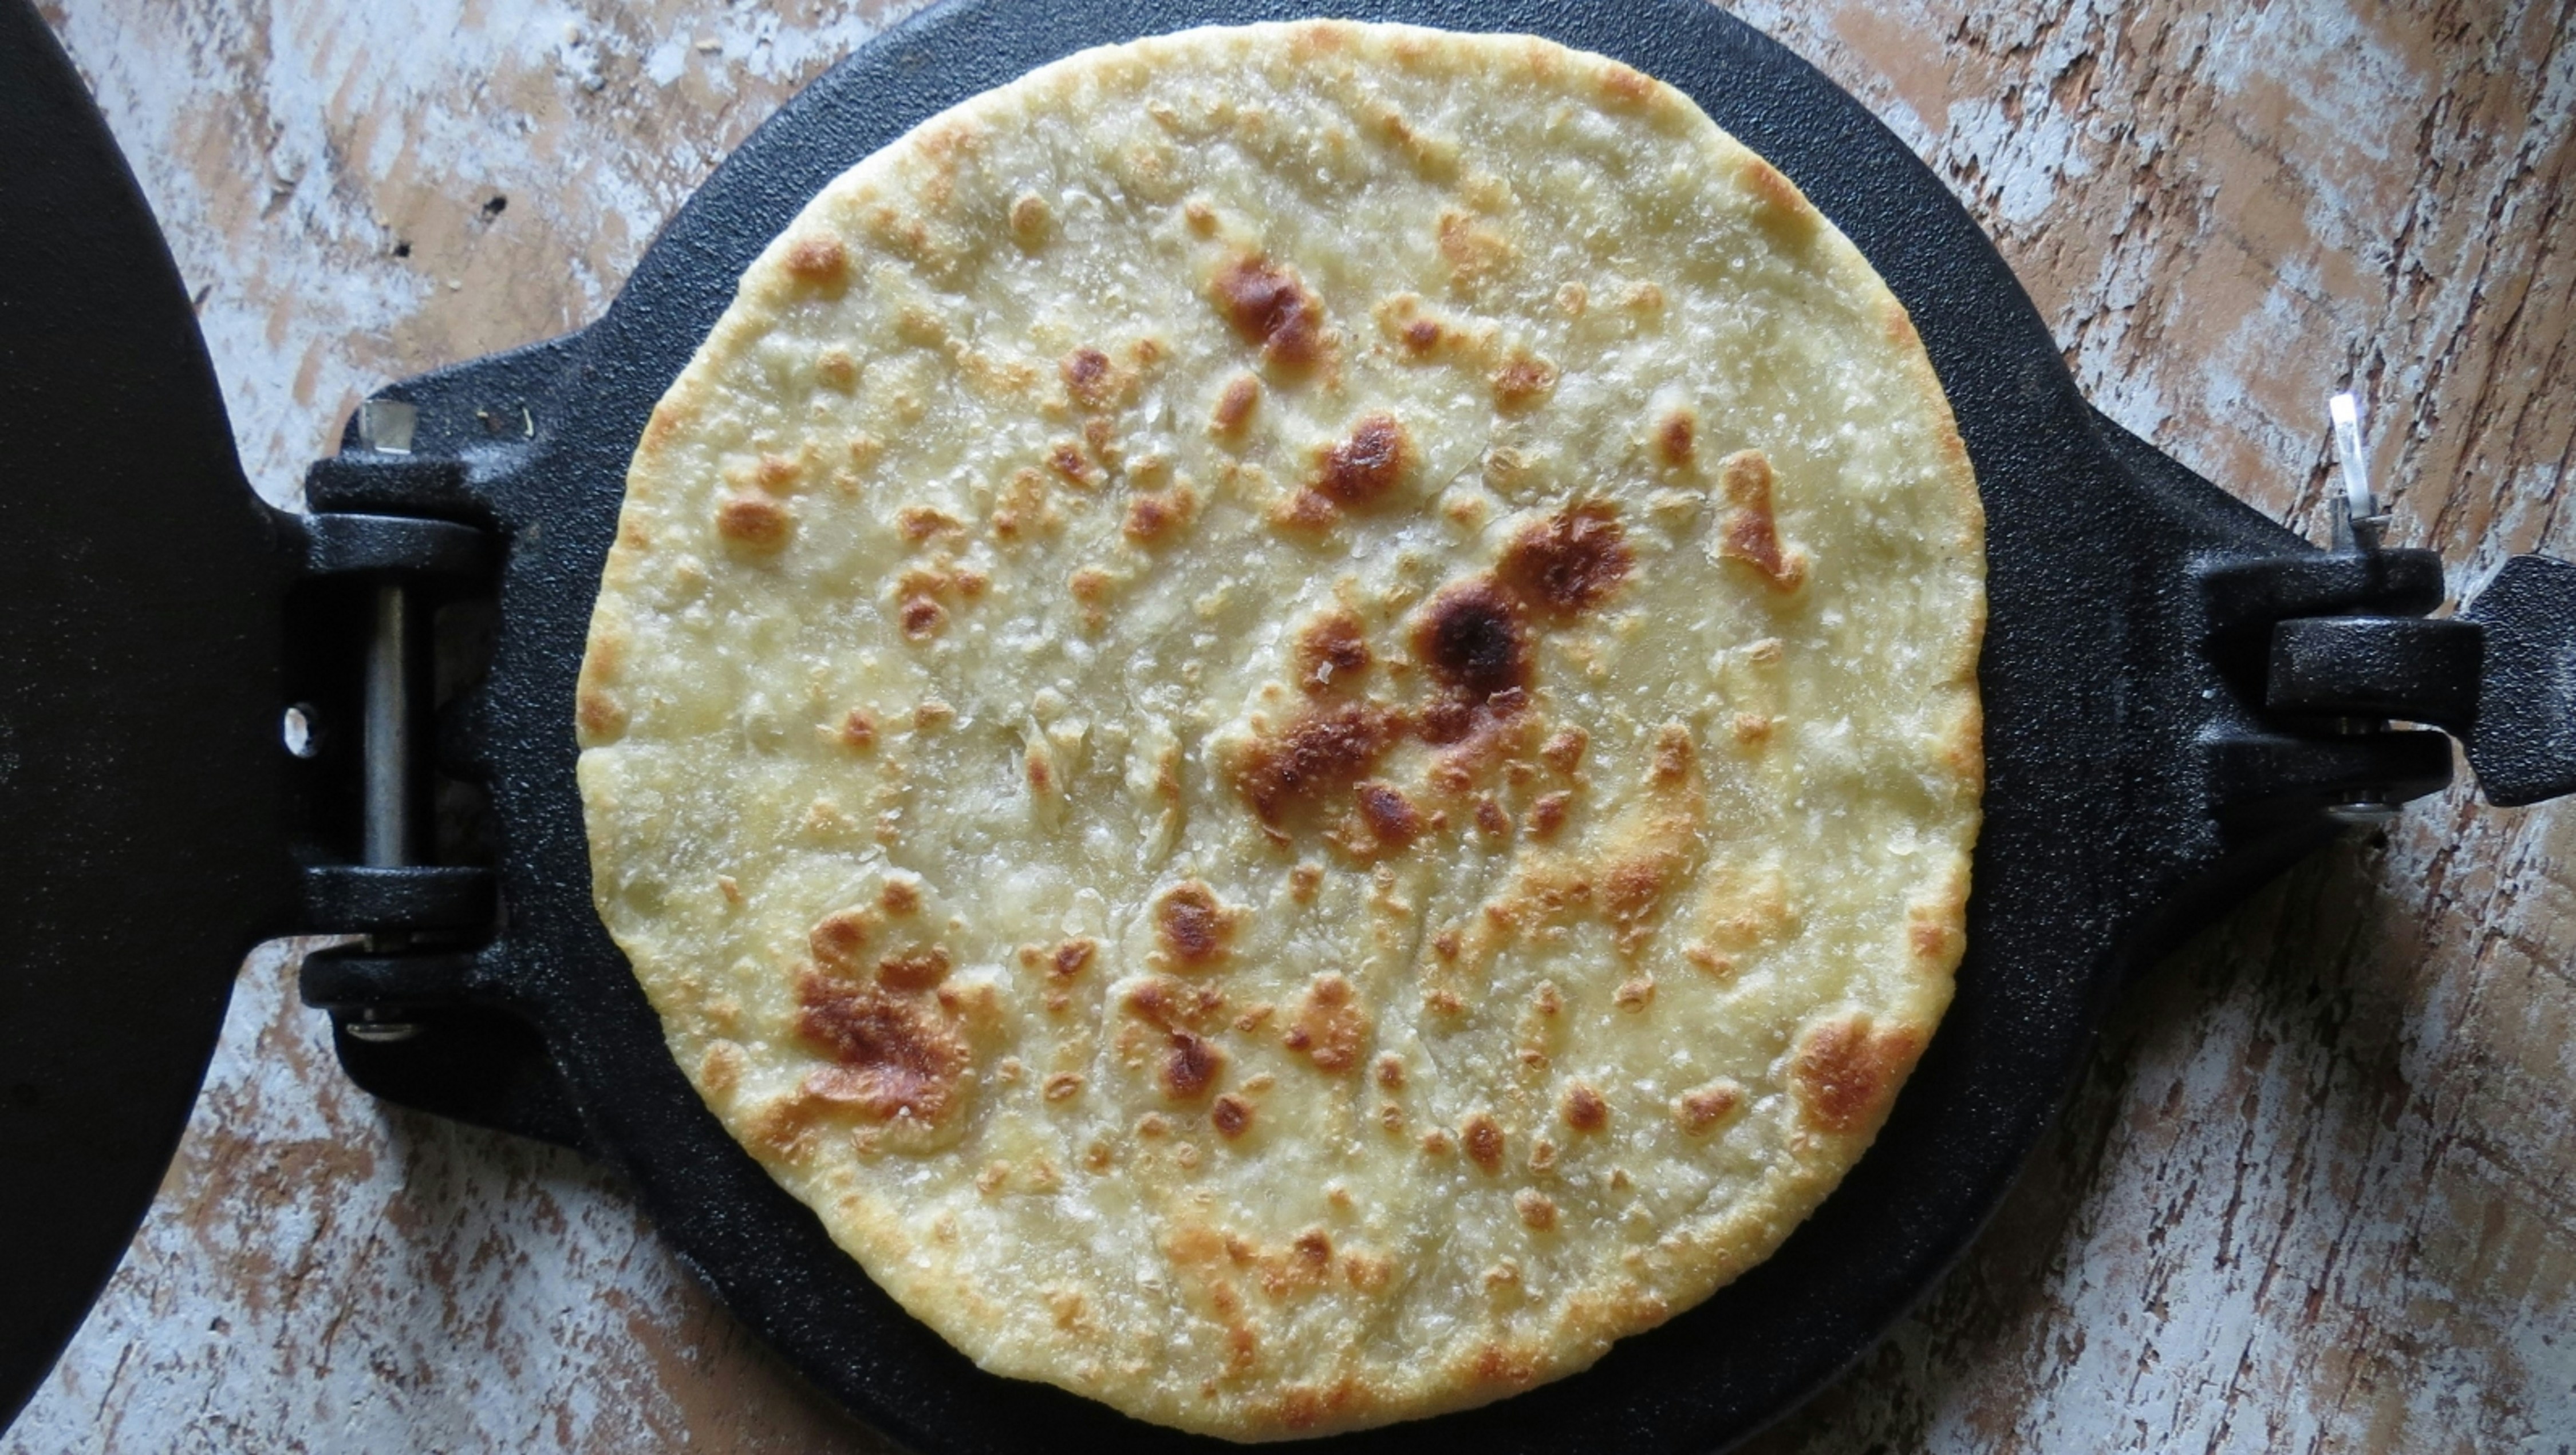
To create soft and layered chapatis, mastering the cooking technique is crucial. The most common cooking method involves using a tava, which is a flat griddle often made of cast iron or aluminum. Alternatively, a heavy frying pan can also be effective. Begin by preheating the tava on medium heat; the correct temperature is vital for achieving the desired texture. If the tava is not hot enough, the chapatis won’t puff, and if it’s too hot, they may burn before cooking through.
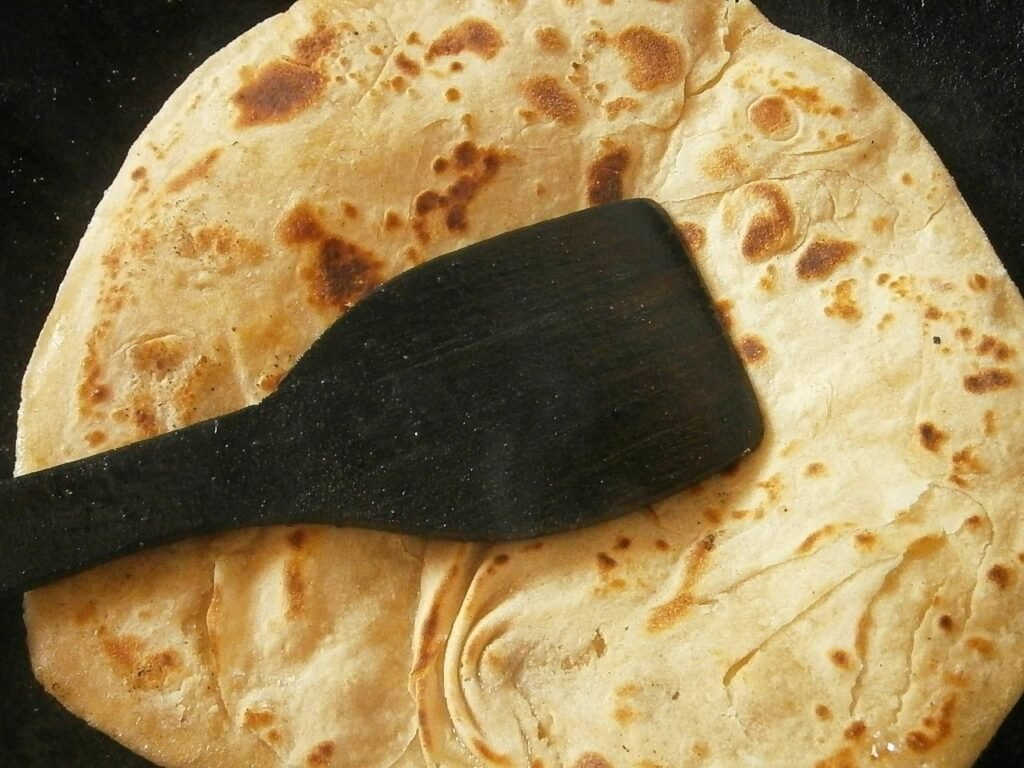
Once the chapati is placed on the tava, it should be allowed to cook for about 30 seconds before the first flip. At this point, you will likely notice small bubbles forming on the surface of the chapati, which indicates it is cooking appropriately. After flipping, the chapati should cook for another 30 to 45 seconds. Utilizing a gentle press with a spatula encourages the formation of steam within the dough, leading to a well-puffed chapati.
To achieve the layered characteristic that is often desired, during the cooking process, you can lightly brush the surface of the chapati with ghee or oil before the second flip. This added fat helps in creating those desirable layers. The chapati should be flipped again once it has started to puff up, generally when it is nearing a minute of total cooking time. After it has reached a nice golden-brown color on both sides, you can remove it from the tava.
To ensure that the chapatis do not dry out, consider stacking them in a container lined with a clean, dry cloth, covering them immediately after cooking. This method retains moisture and preserves the softness. Experimenting with timing and temperature while keeping a close watch on your chapatis will help you perfect this cooking technique, bringing that soft, layered texture to your chapatis.
Serving and Pairing Your Chapatis
Chapatis, known for their soft texture and layered composition, can elevate any meal when served appropriately. Traditionally, chapatis are paired with a variety of dishes, particularly curries and dals, which complement their mild flavor and enhance the overall dining experience. The rich and savory nature of curries, such as chicken curry or vegetable korma, is beautifully balanced by the simple, wholesome chapati, making it a staple in many households.
To ensure optimal taste, chapatis should ideally be served warm. Wrapping them in a clean kitchen towel can help retain their heat and moisture until they’re ready to be enjoyed. When presenting chapatis on the dining table, consider using an attractive basket or platter, ideally lined with a decorative cloth, to add an inviting touch. This simple presentation can transform an everyday meal into a special occasion.
Storing chapatis for later use is also an essential aspect of their versatility. If you have leftovers, allow them to cool completely, then stack them in an airtight container, separating each chapati with a parchment paper to prevent sticking. Stored this way, they can last for up to two days at room temperature or can be refrigerated for longer freshness. Reheating chapatis is straightforward: a quick warm-up on a skillet will revive their soft texture.
Moreover, chapatis can be creatively adapted to suit various tastes. Stuffed chapatis, filled with spiced potatoes, paneer, or seasonal vegetables, offer a delightful variation that makes for a delicious meal on its own. This creative approach not only highlights the versatility of chapatis but also caters to different dietary preferences. Exploring diverse ways to enjoy chapatis can lead to exciting culinary experiences and additions to your meal planning.